Last Friday when I was at the dollar store I found some orange tee shirts. As soon as I saw them, I knew they’d be perfect for a Halloween craft project. They only had one size (kid’s medium), but for a dollar each, they’d do just fine. I washed them over the weekend and then prepped the shirts on Monday night.
I found some jack-o’-lantern faces online and printed them out. Then I traced them to freezer paper and cut out the details. Once that was done I ironed them on to the shirts. (I’ve done this before. It’s an idea I found online and I’m really curious who came up with it first. I mean, I’m not sure I’d have ever thought to iron something used to preserve food on to fabric and then paint over it – but whatever, it works and it’s fun.)
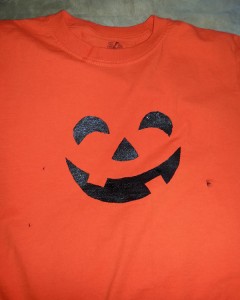
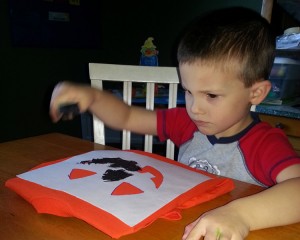
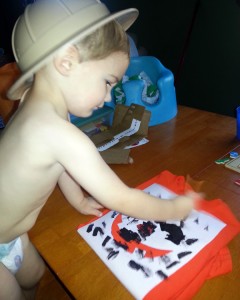
So yesterday morning all I had to do what stick a piece of cardboard inside each shirt (to keep the paint from bleeding through to the back) and give the boys some brushes and fabric paint. The freezer paper acts as a great stencil after you iron it on and it peels off super easily when you’re done.
Adam was excited to wear his new shirt today and has already asked me if we can do this again to make Thanksgiving and Christmas shirts (the answer is yes, if you’re wondering).
 Luke’s shirt turned out well too. He went off of the sides of the stencil a couple of times and also got a bunch of paint on his belly (it washed off fine). He did most of his painting on the white paper, and not the face of the jack-o’-lantern, so I helped a bit. No pictures of him wearing it, because he is not at all interested in wearing his Halloween shirt (or his Halloween costume, or clothes in general really).
I’m very pleased with how they turned out and it was a fun activity for both of them. I already had the freezer paper, the fabric paint, and brushes, so it only cost us a buck a piece for the shirts – not too shabby!


